How to invite your team to use Wisible

Riki Kimura
Digital Marketing Executive at Wisible

For maximum efficiency in using Wisible with the team, you can simply invite your team to use Wisible within a few steps.
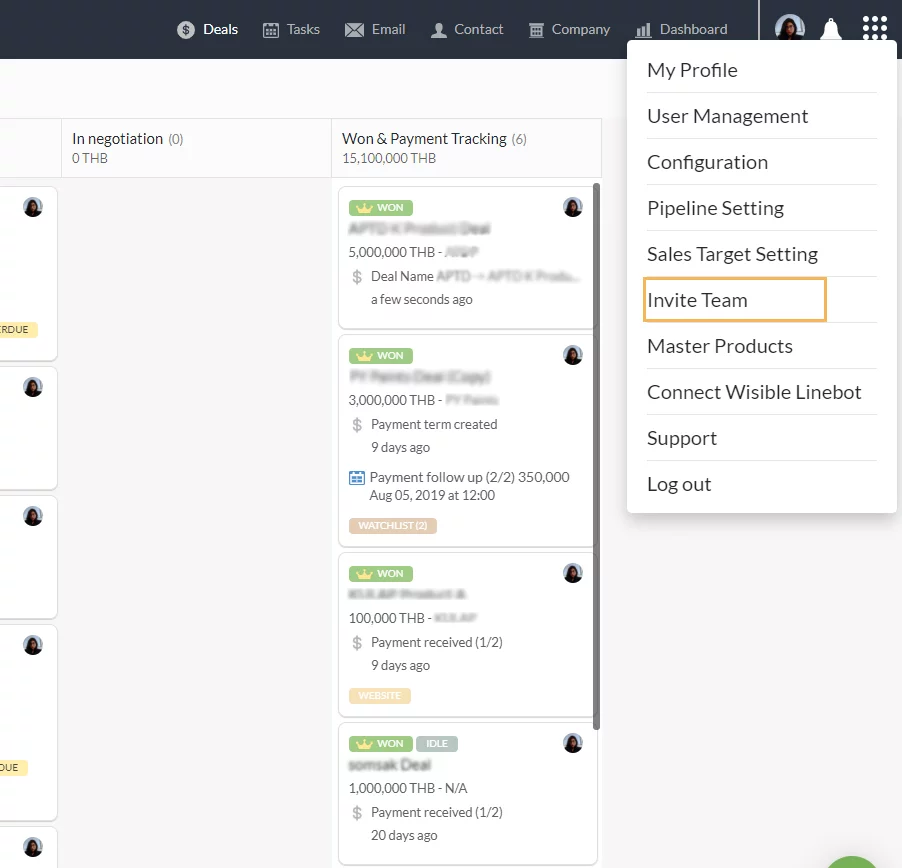
1. Enter to sub-menu ‘Invite Team’
Go to 9 dots menu on the top right corner on Wisible page, then choose ‘Invite Team’
2. Enter ‘Invite Team’ Page
After clicking the ‘Invite Team’ button, you will be entered into the ‘Invite Team’ Page. You can choose to invite your team member via email or invitation link to each member.
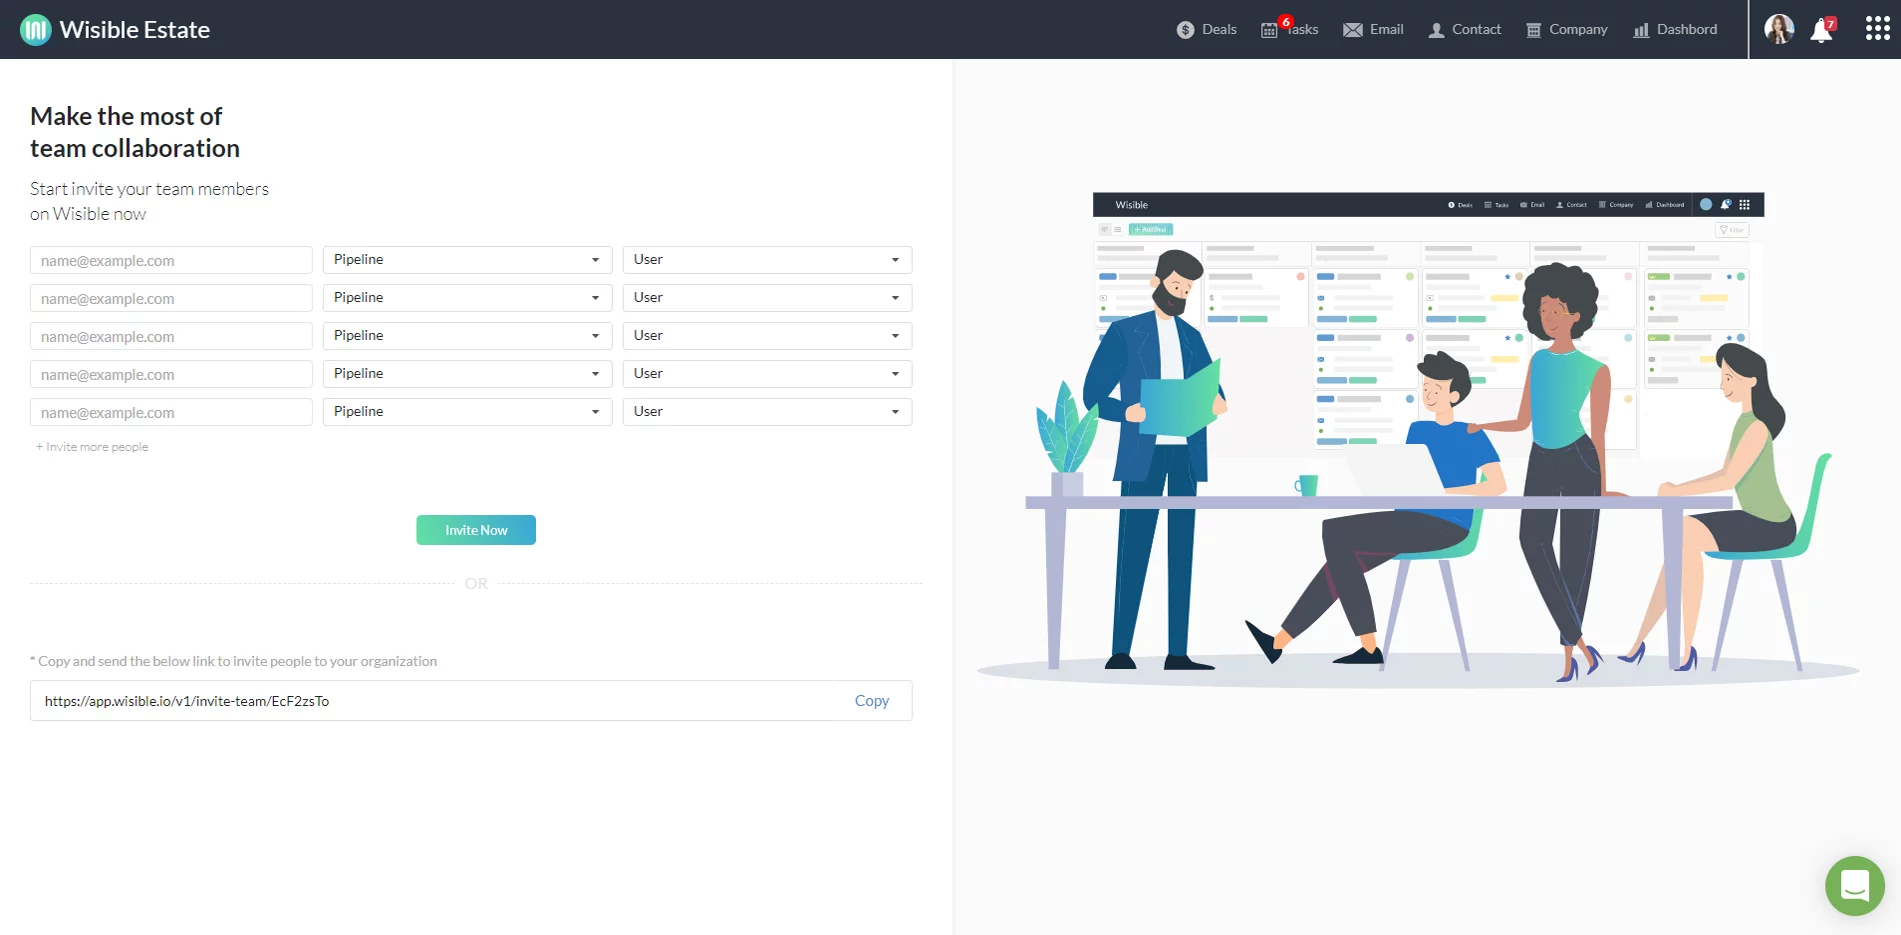
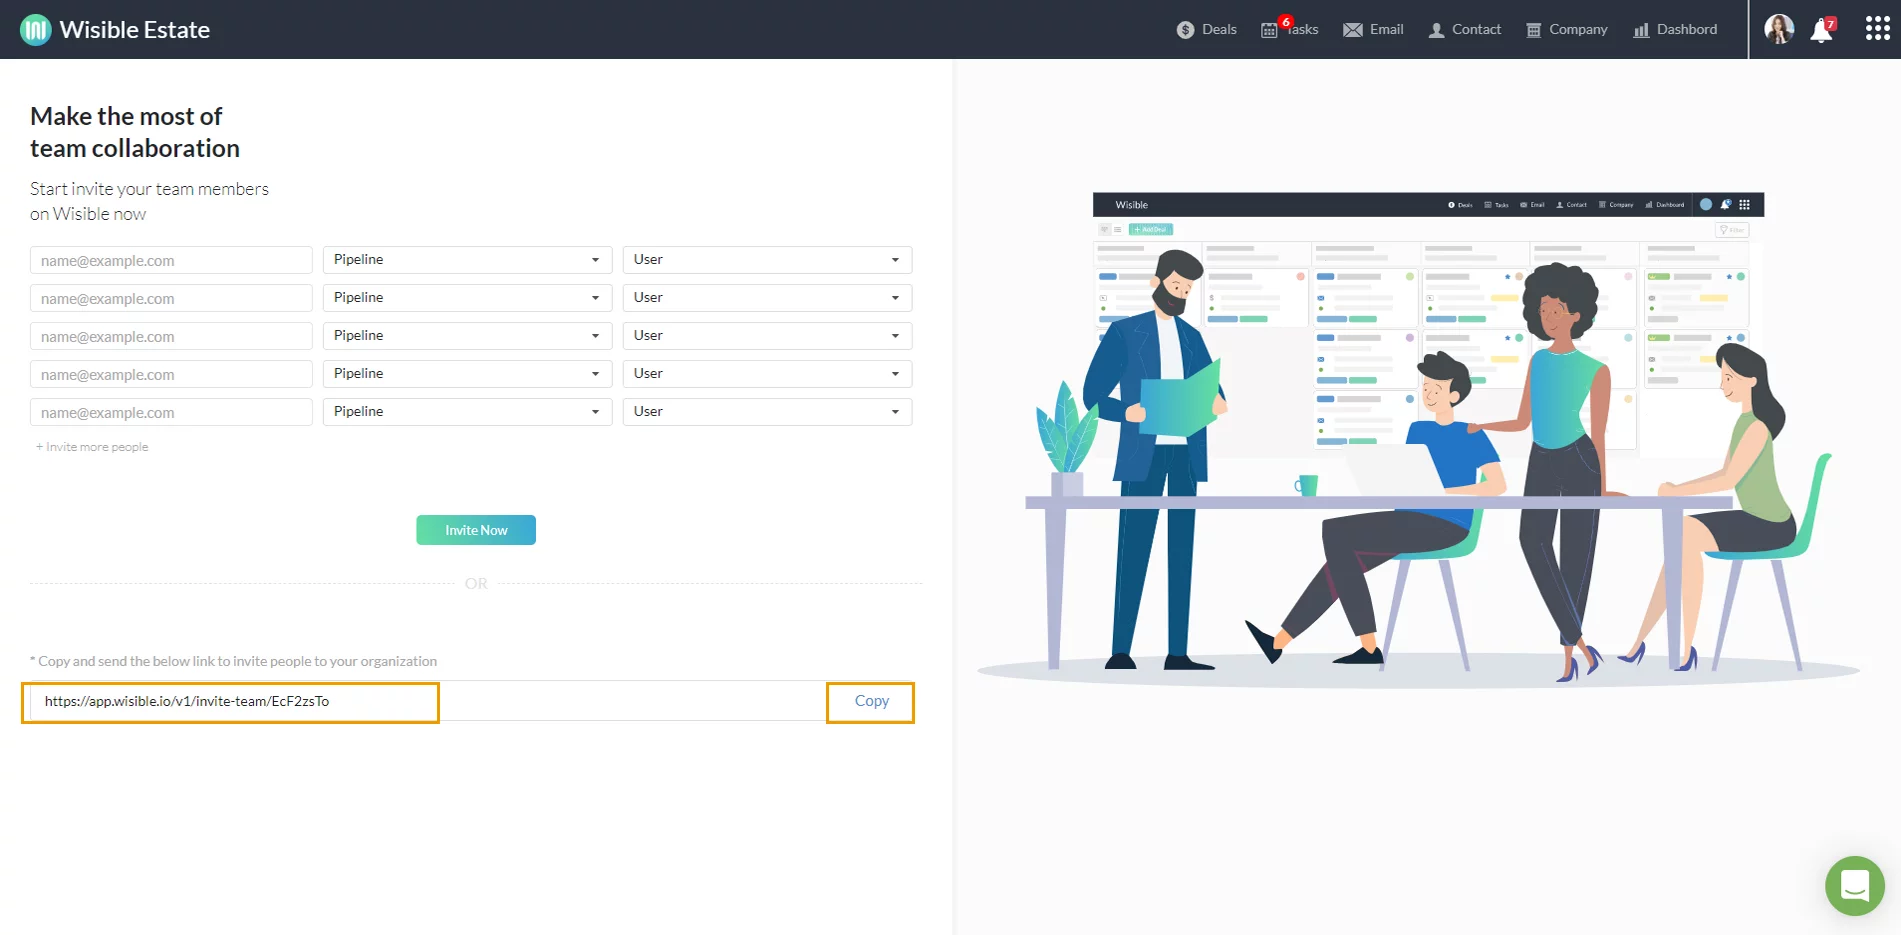
3. Sending an Invitation Link to Your Team
Super Admin can clink on the copy button below to copy the invitation link and send it to your team through any channel that is convenient for you.
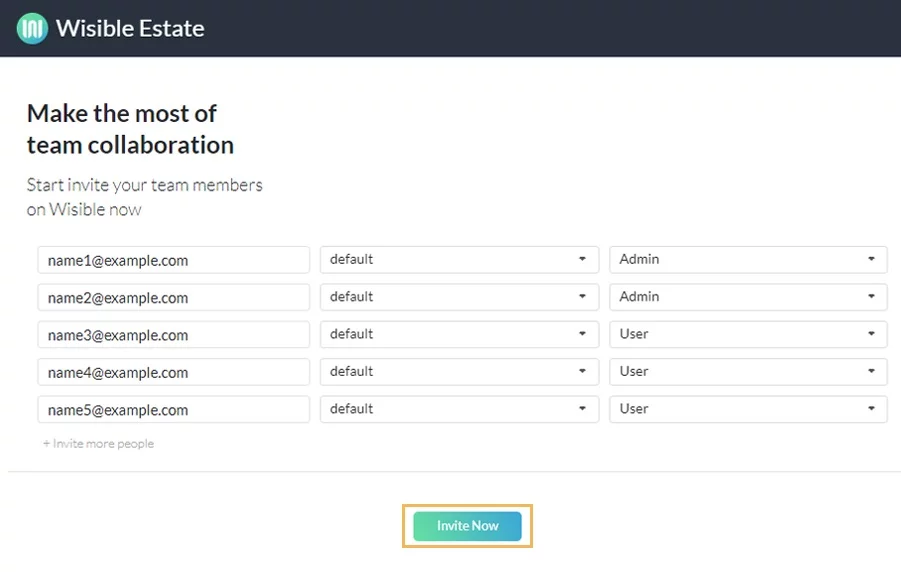
4. Sending an Invitation with Email, Filling in Team Email and Manage the Right
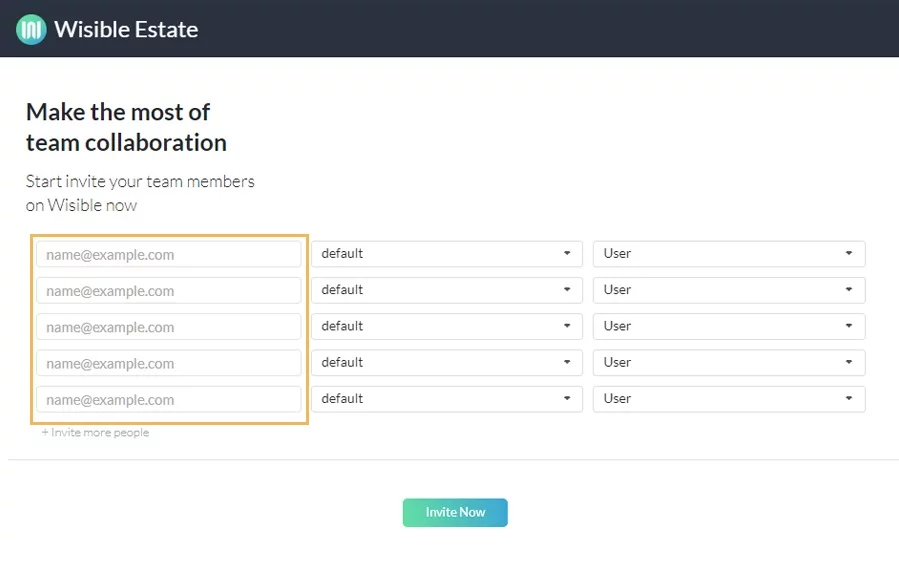
After clicking the ‘Invite Team’ button, you will be entered into the ‘Invite Team’ Page. Firstly, the left hand side of the page, please fill in your team’s email into each blank space. If there are more than 5 members in the team, you can click on ‘+Invite more people’ button to add more fill in space.
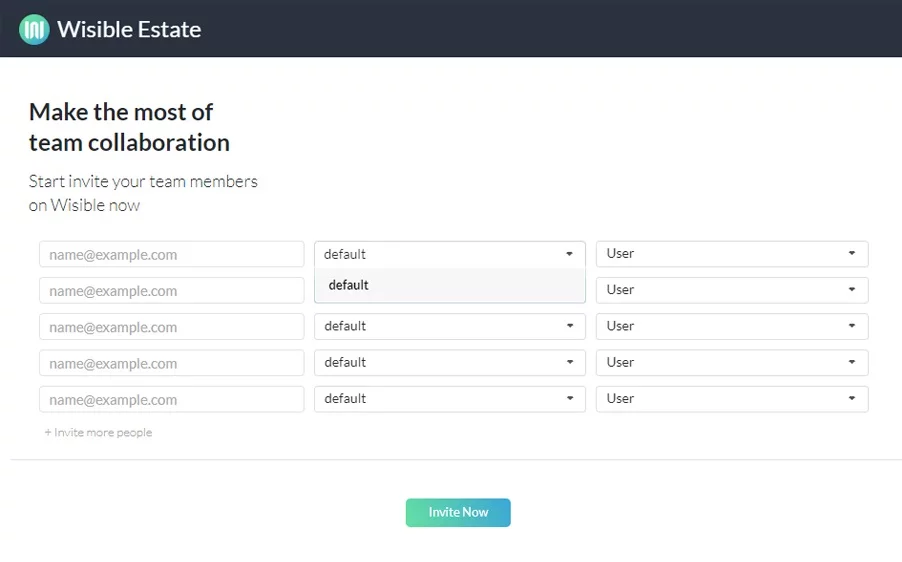
In case of having many boards, you can individually choose each of your team member to become a member of which board.
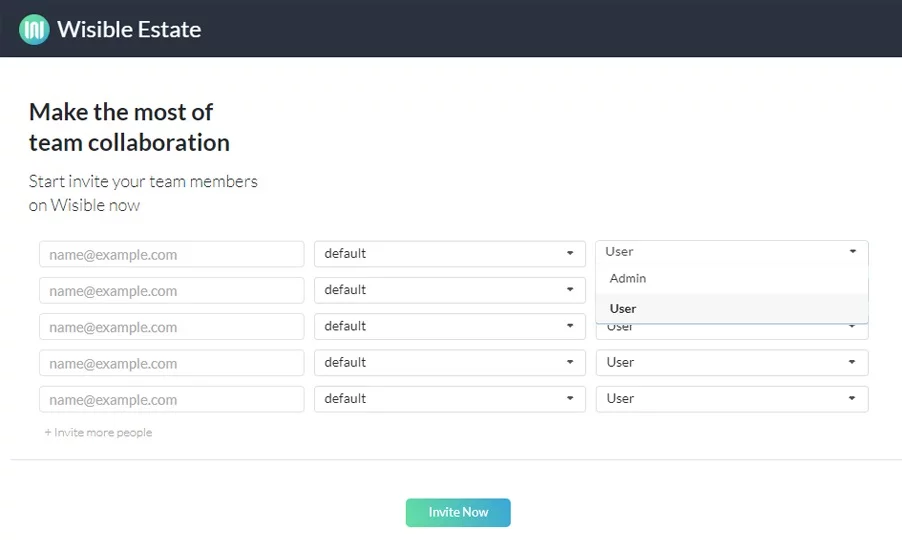
You can determine level of the user in particular board, whether to be a user or an admin level.
Once filling in all the details, click on the ‘Invite Now’ button, please do not forget to inform your team member to check the email’s inbox in order to accept the invitation to use Wisible as your team.