Easily create new deals on Wisible in just a few steps

The first step for everyone who would like to use Wisible, it is really simple, just follow all these steps:
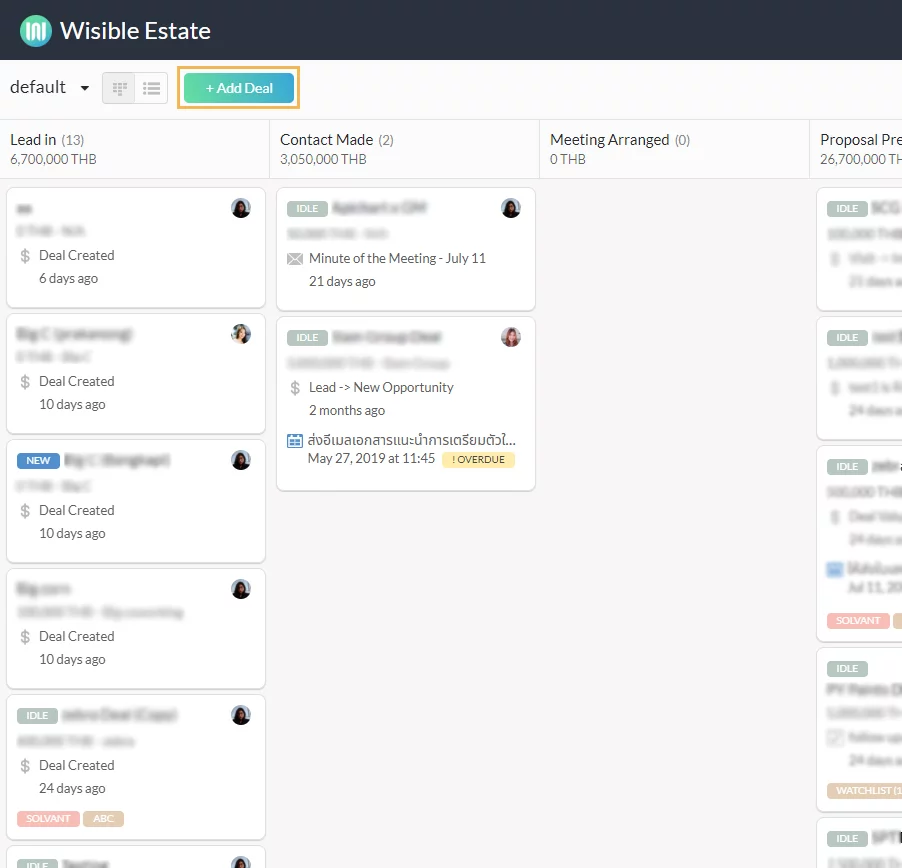
1. Login to Wisible Website
Once you enter into the first page of Wisible website, find ‘+Add Deal’ button on the top left corner under your company name.
2. Starting with Creating New Deal into the System
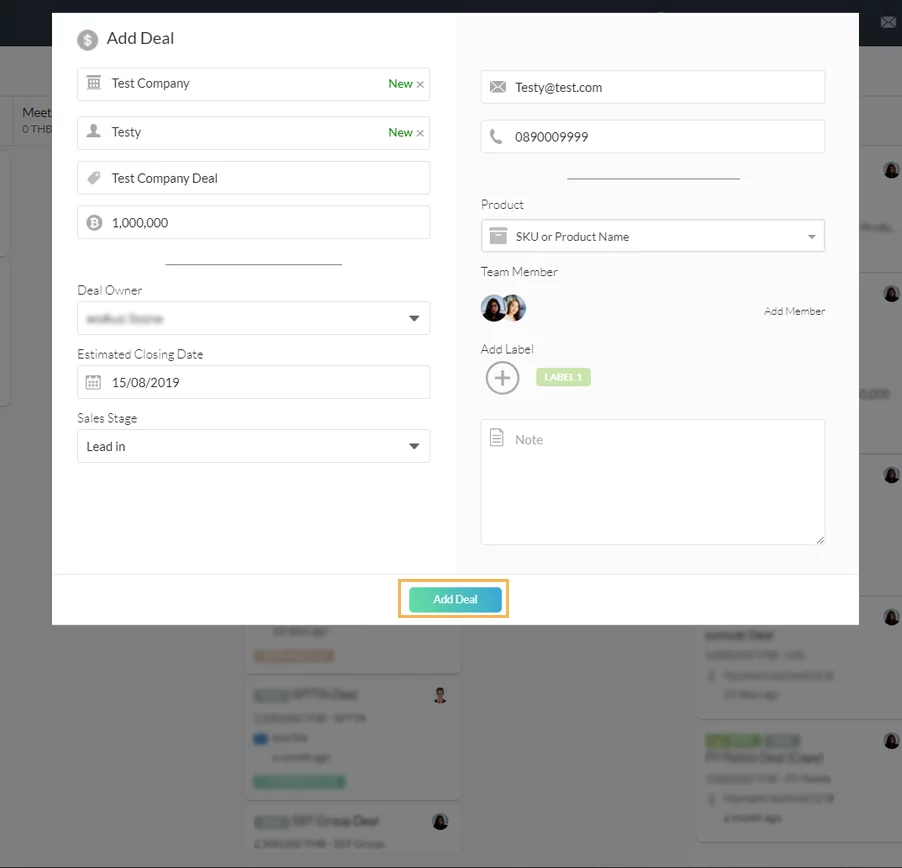
After clicking on ‘+Add Deal’ button, Add Deal page will come up so that you can fill in the essential details that we have selected on the page.
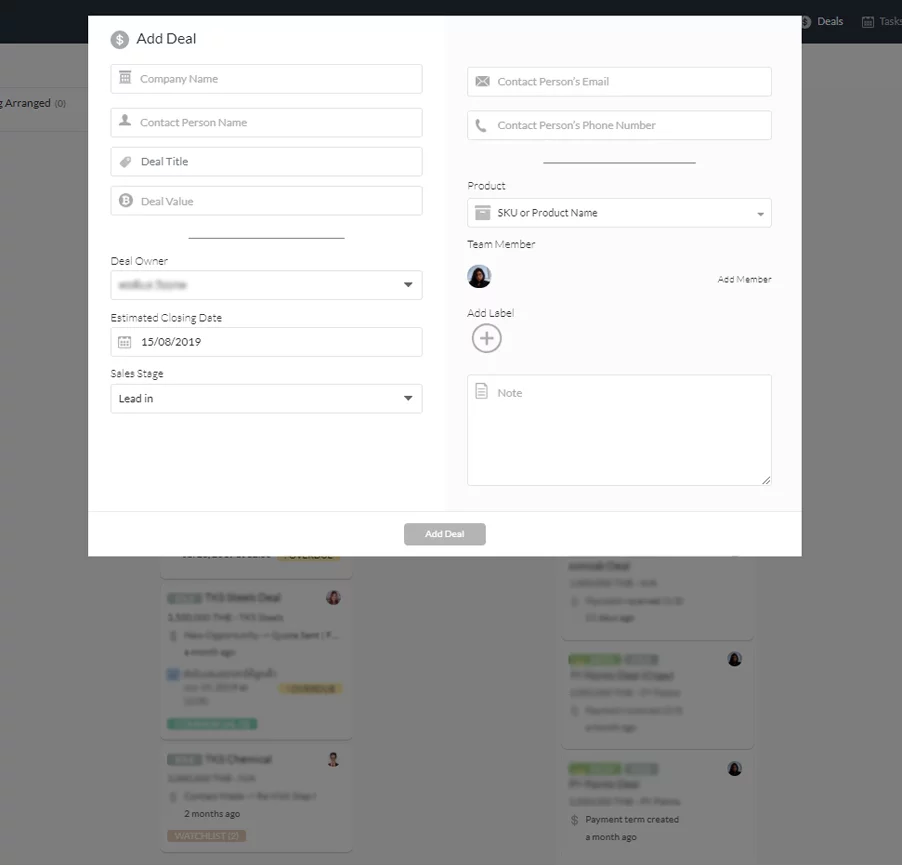
3. Fill in the details
Fill in details as follow:
- Fill in Company Name
- Contact Information (A person’s name)
- Phone number
- Deal Name (The system will take Company Name or Contact Information and then add the word ‘Deal’ in it as a default setting)
- Deal Value
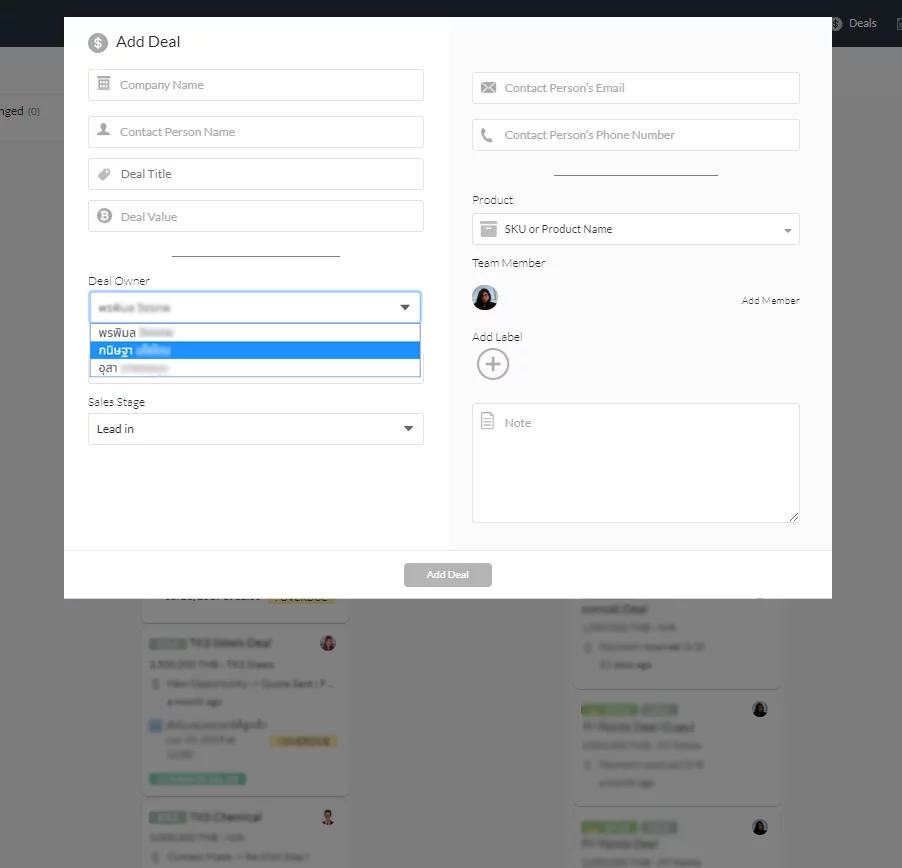
Once the detail is filled, you can assign your team member to become a ‘Deal Owner’ on behalf of yourself.
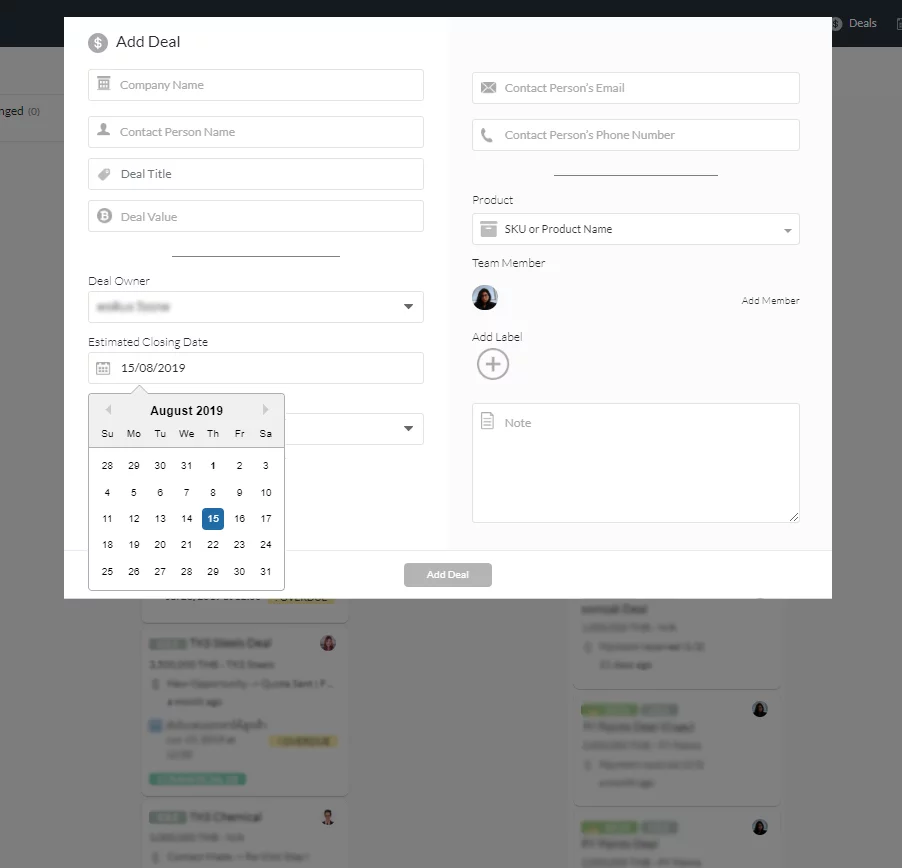
An ‘Estimated Closing Date’ can be edited.
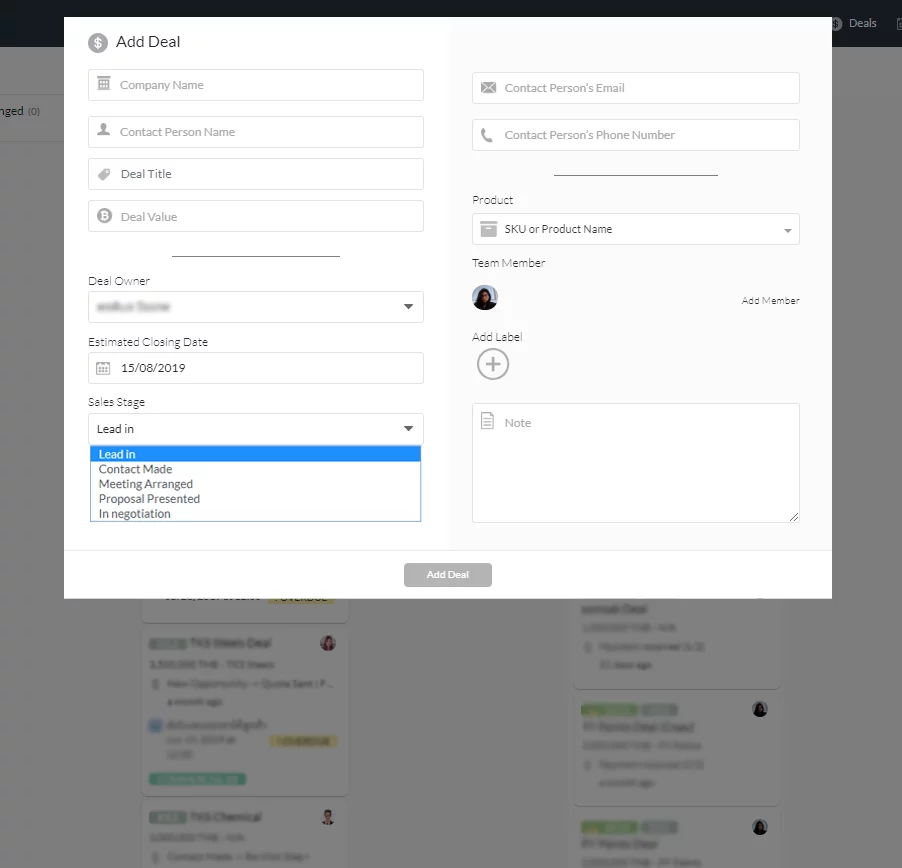
‘Sales Stages’ can be chosen, the default setting is Lead in (New Lead), Contact Made (Had contacted with customer), Meeting Arranged (Had appointed with customer), Proposal Presented (Price Quotation had been presented to the customer), In Negotiation (Negotiation in Progress), the default setting will always be the first Sales Stage selected.
Product* can be chosen to offer for sale in that deal by clicking into ‘Product’ and fill in SKU or Product Name (For the first time, you will not be able to find it. You can skip this and fill in later after creating the deal.)
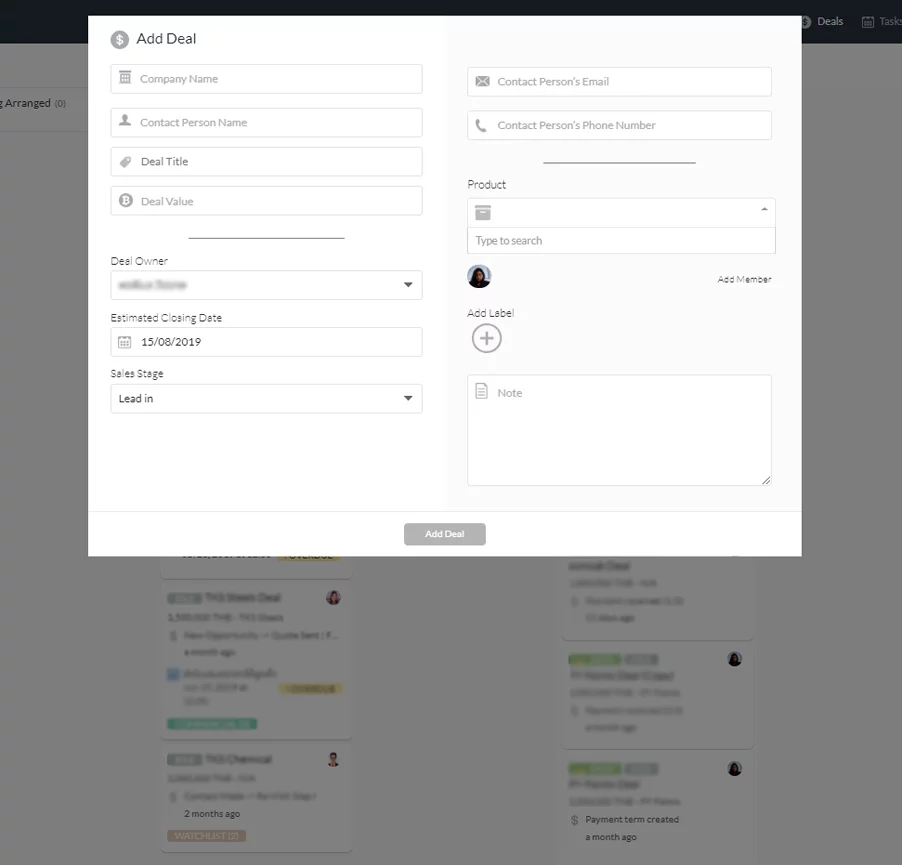
* Product Module is a Premium Feature for Enterprise Package customers who are using Product Extension only
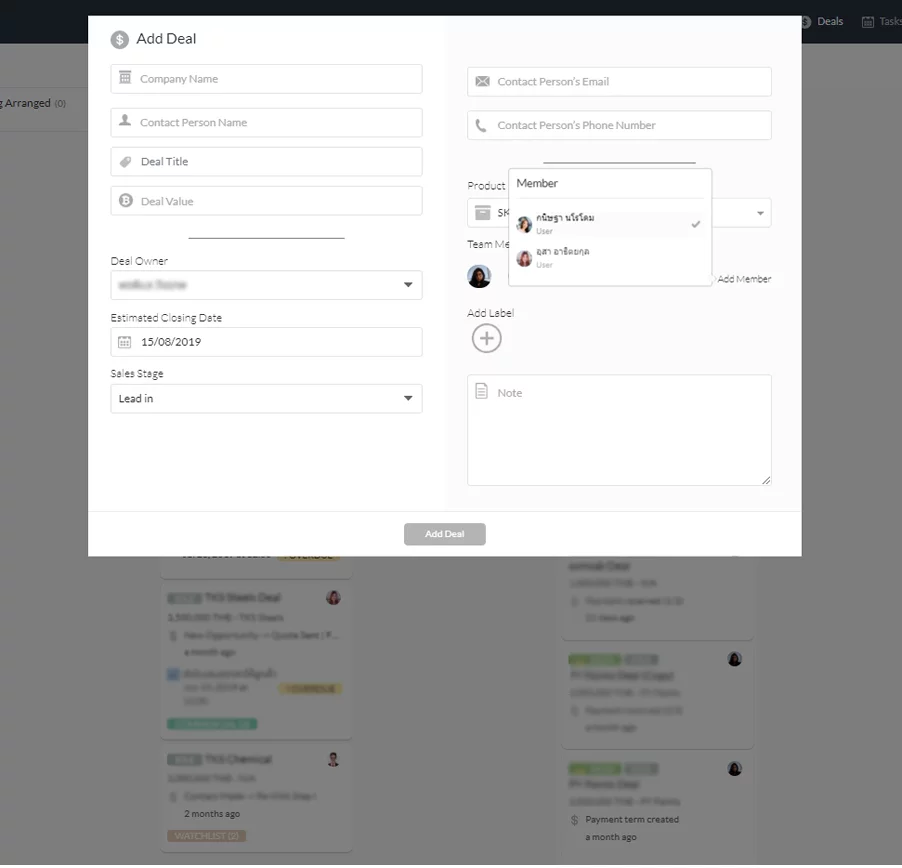
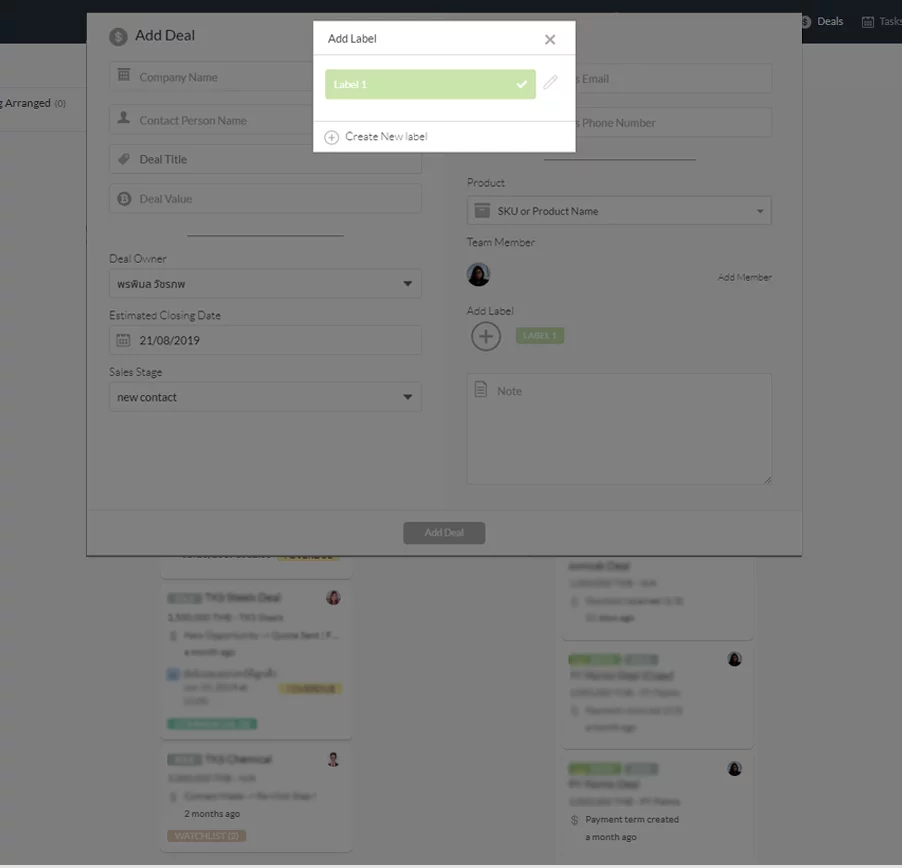
You can manage member in that Deal as well by clicking ‘Add Member’, you can choose members who you would like to reveal the detail of the deal by click the tick arrow at the back of their names.
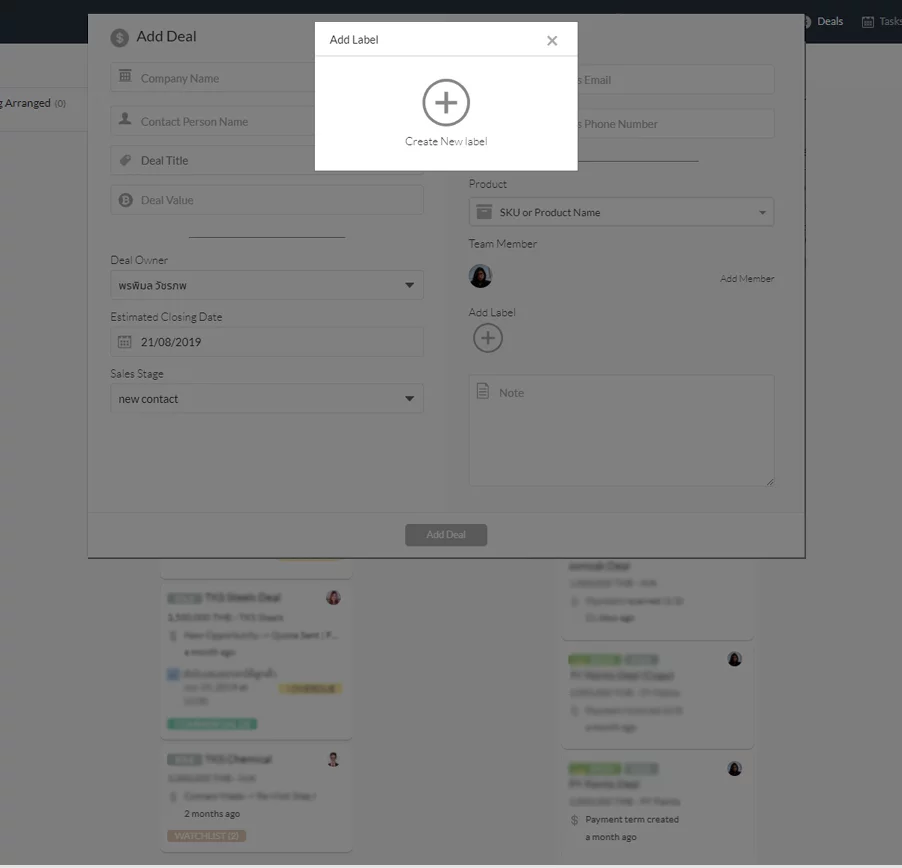
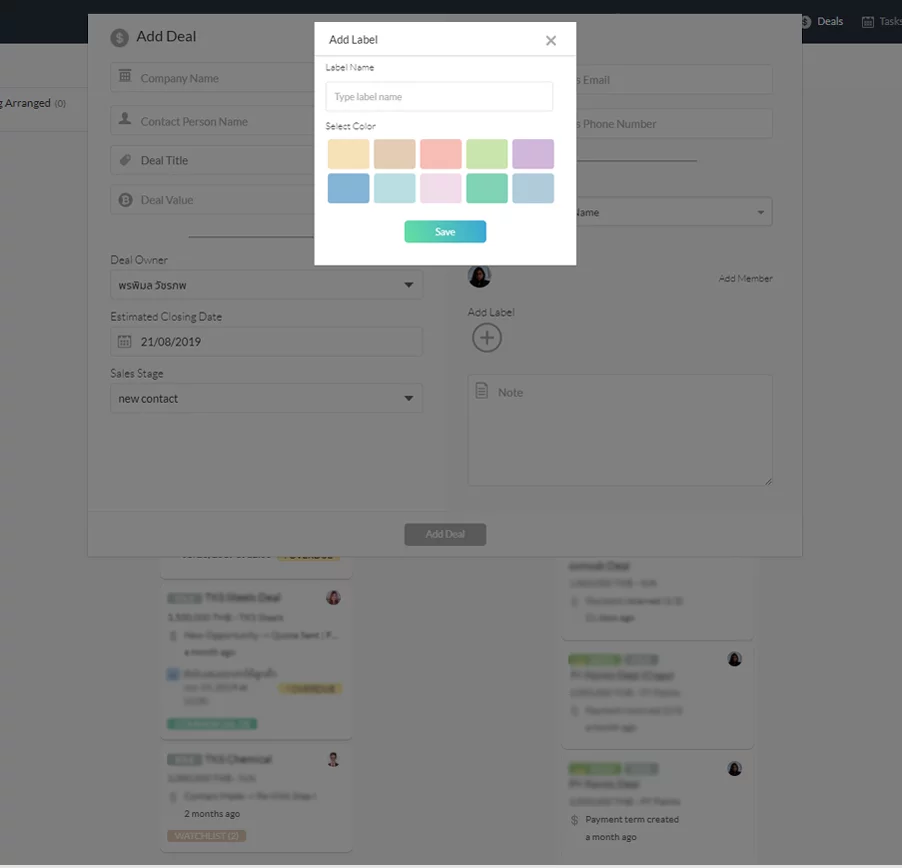
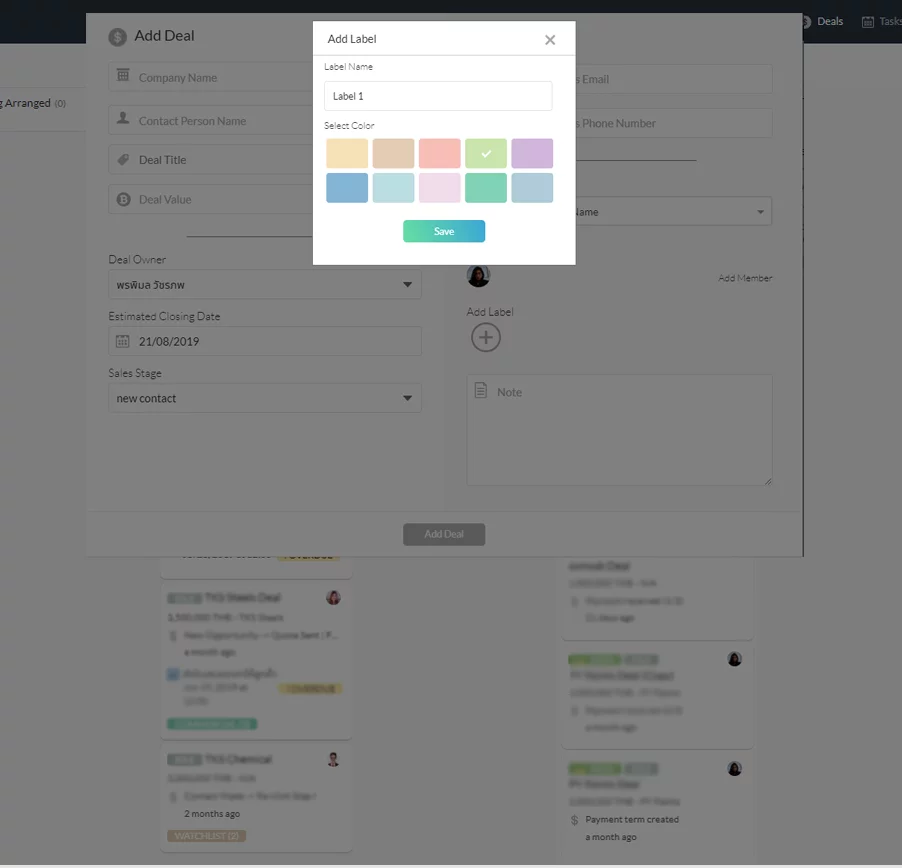
Label can be created to categorize groups for your deals, to manage members in the deal, clicking on a + in the center of a circle icon under ‘Add Label’ Headline.
The final step, once you have managed your details, click on the ‘Add Deal’ button, you will get one new Deal Card. Congratulations, you have completely created your first deal.